It has become a common practice for homeowners to install additional flooring materials on top of the concrete floors that are typically found in the majority of modern buildings. Such flooring materials include laminate, vinyl, hardwood, and ceramic or porcelain tiles.
One of the most difficult decisions that homeowners often face is deciding on which pattern they should use when installing the flooring material. The most suitable arrangement will depend on the type of material being used, the individual taste of the homeowner, and the projected budget. This article will shed some light on some of the most commonly used flooring patterns including the advantages and disadvantages of each pattern.
1. Straight Pattern
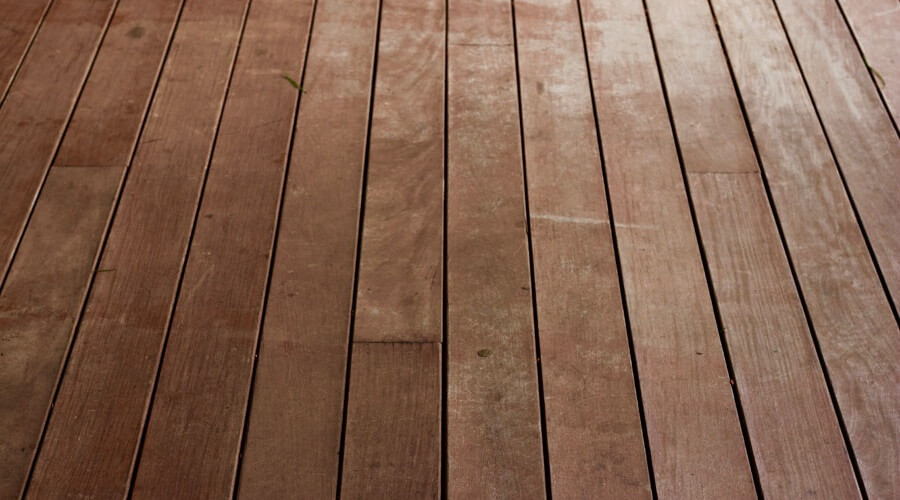
Straight pattern wood floors have been in existence since time immemorial. These floors are engineered and can be combined with underfloor heating or cooling. After you lay your mind on this flooring you will have an option of choosing between parallel and perpendicular straight lines, we will advise you to use perpendicular lines as their line patterns “welcomes” you directly to your space and makes your room appear bigger.
However, depending on your room’s size and shape most will blend well with the parallel layout. Regardless of the choice, you will find that a straight-lay pattern is worth its price.
2. Random Width Pattern
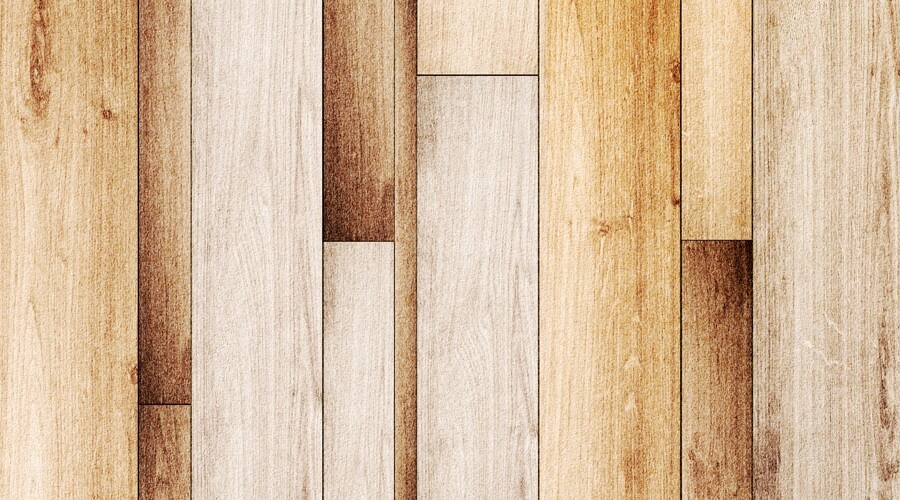
When decorating your floor using random patterns: decorators and floor designers utilize three dissimilar plank widths are usually utilized to achieve the best pattern. You have the option of choosing between random, recurring, or where both selection or layout is random. Either choice you make gives you an aesthetic floor.
The random pattern gives your room an earthly look as it complements the arrangement of trees. It is suitable for rooms with large ceilings. Most historically renovated old buildings also utilize random pattern flooring as they complement the old hand-sewn look of the buildings.
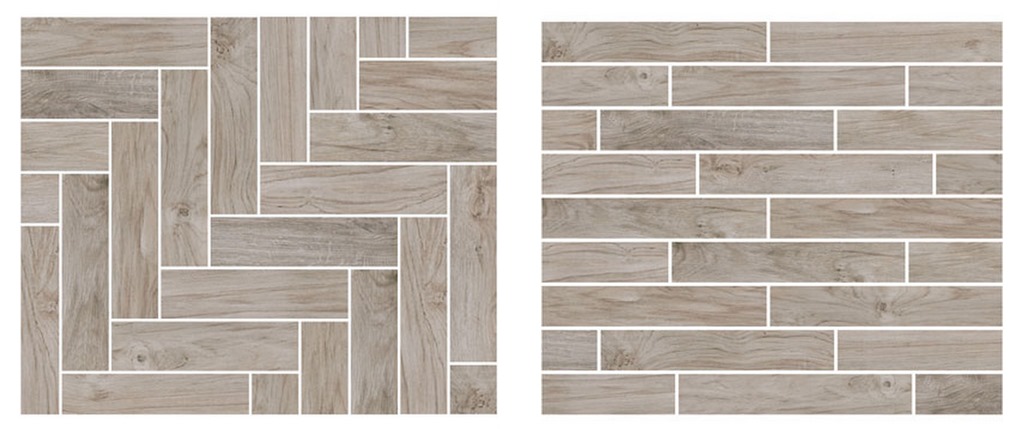
3. Herringbone Pattern
The herringbone pattern is a popular flooring pattern. Herringbone name suits the pattern well as it complements the bones of a fish. They consist of short parallel lines with each line in a column falling in its own direction.
When setting up herringbone floors you have to install each piece at a time for the floor tightness and balance to be maintained. Excellent precision is vital at all times for the success of the floor. If a board is installed incorrectly or falls out the balance the whole process is compromised. For this reason: the herring floor pattern
installation is not DIY-friendly.
4. Chevron Pattern
![]()
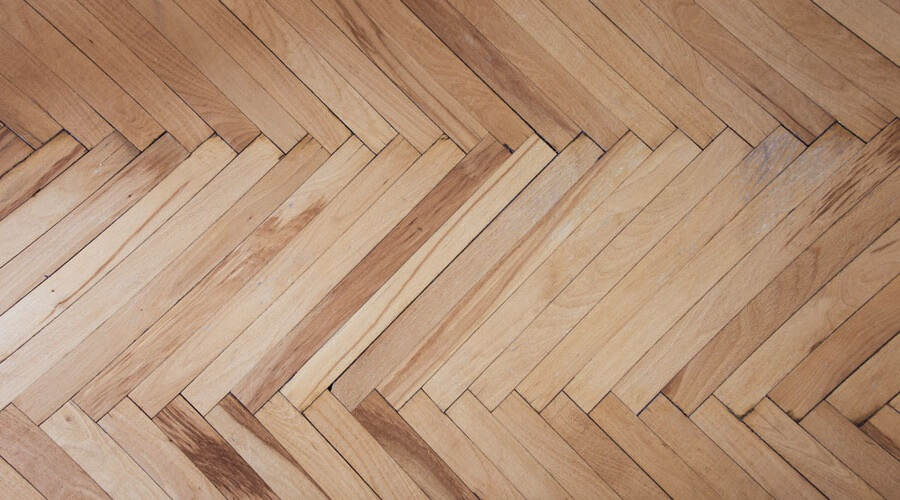
Chevron pattern is a popular flooring method for most interior designers. Woodblocks that meet at a point-to-point are incorporated into this pattern creating zigzag patterns. The woods are placed at 45 degrees angle along the horizontal axis resulting in a beautiful pattern that blends well with most old buildings and those that require slight interior furnishing.
If you prefer fashionable looks you can go for light-blind wood tones but if in need of a warmer texture then the darker tones will do more good. Extend your creativity to your bathroom and install your tiles in a chevron pattern. To get bold statements ensure you use different shades and colors.
If your room has industrial look then you need to incorporate a chevron classic design. It is easy to install and you can include it in your DIY tasks. You only require to cut your wood at angles and get the work going.
5. Diagonal Lay Pattern
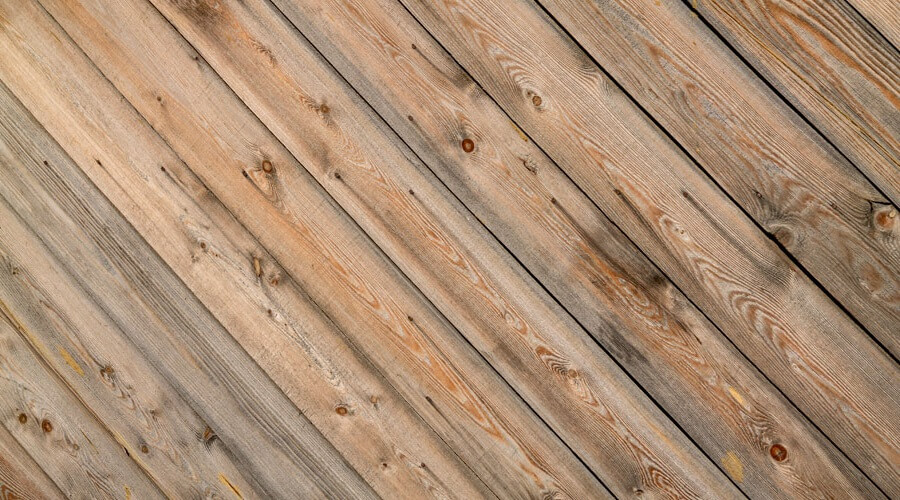
Diagonal patterns are similar to grid patterns except that they are set at a 45-degree angle to the walls. Doing so gives the illusion of the room being more spacious even when it’s not. It is suitable for those spaces that have unconventional shapes as the pattern pulls the focus. You can also use different angles even as little as 10 degrees for that unique look.
Most times we normally use the Diagonal lay pattern with black and white tiles or of different colors to give a checkerboard look. Besides, you can also use it with one tile and still retain the beautiful look.
6. End Grain Pattern
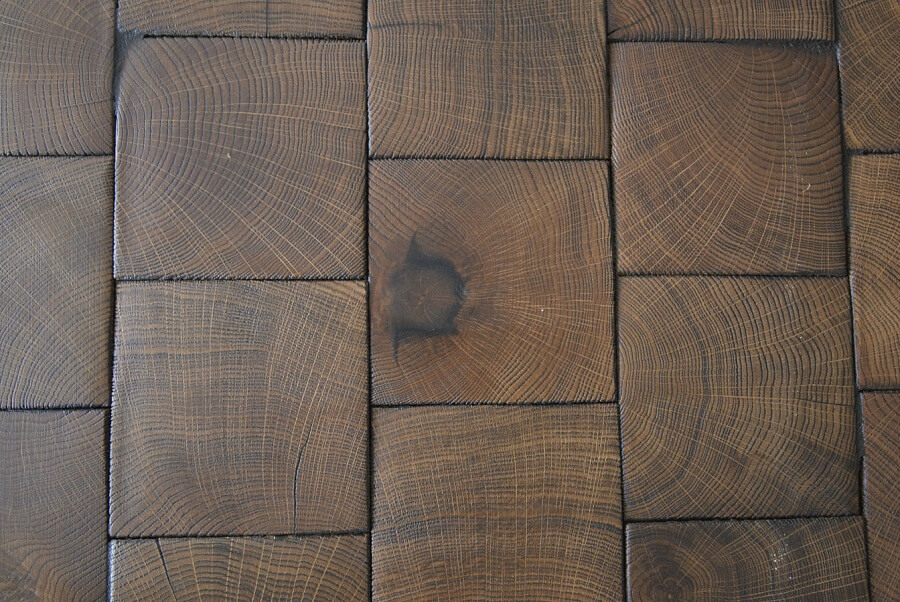
End grain floor pattern is one of the most simple DIY floor patterns you can use as it requires only lumber or timber. First, you cut your timber into tiles and leave them in a room so that they adjust to their temperature to prevent floor warping.
Depending on your wood you can arrange the tiles to form cool symmetrical shapes. Glue the tiles to your floor using any adhesives. After they dry sand the tiles to remove any glue left on the surface which may attach to your feet.
After completing the installation add different layers to leave the wood with a glossy finish. Depending on how you install the floor you will have a beautiful and natural-looking floor. The last step in the design is sealing the floor with some adhesive.